Urban
Fisheye
Macro
Light/Motion
Set-up shot
Portrait
Architecture
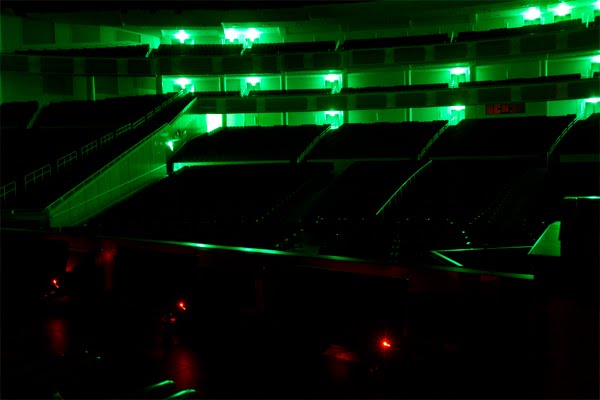
Shows
Black&White/Night Shot
Landscape
1)The Alley-5/6/10 at 2pm. Logan,UT. f/3.3 1/1500, Nikon D70
2)Holiness to the Lord-July 07' 2pm-ish. SLC, UT. f/4.8 1/500 Nikon D70. Fisheye Lens.
3)Endure to the End-6/6/10 at 4pm. Boone, NC. f/5.6 1/250 Nikon D70. 300mm Macro Focus.
4)Beauty in Chaos-July 07' 10pm SLC, UT. f/4 4" Nikon D70. Driving in my car.
5)Footprints-7/14/10 6pm Egon Lake/Rexburg, ID. f/4 1/1500 Nikon D70
6)Window to the Soul-7/08/10 8pm Rexburg, ID. f/5.6 1/90. Lens Flare. Nikon D70
7)Downtown Houston-11/27/10 5pm Houston, TX. f/2.8 1/1000. Nikon D70
8) Bryce Avery-11/27/10 9pm Houston, TX. f/4 1/20. Nikon D70
9)The Forbidden Path-12/27/10 at Midnight. Afton, WY. f/2.8 4" Canon 7D
10) The Water of Life-7/12/10 at 3pm. Grey's River, WY. f/4.8 1/350. Nikon D70