Monday, February 28, 2011

Blog 8-Favorite 5 Photos (optional)

Here are some of my favorite HDR photos. Hope you like them!


Blog 8-HDR

Ladies First. I shot at 1/100 1/200 and 1/400 at f/5 for this HDR. Brought out the dynamic lighting, vivid colors, and cropped it just a hair on the left.

Sunny Cabin. 1/320 1/640 1/1250 at f/14. I painted the light in myself using the brush tool in Dynamic photo because when the computer did it, the clouds looked way crazy. This way I was able to achieve the balance of surreal while keeping it within bounds.

Blog 8-Macro Abstract

Macro Edited. I used burn color as the blending mode as I used the macro door frame as the background. I put the wall photo on top and kept them both at 100% opacity so there'd be a nice hard mix of light and colors.

I loved the texture and lighting of this wall. In the edit I flipped the photo 180 degrees because I felt it went better when lined up with the door frame on the left side of the image. I shot at 1/60 at f/2.8

Macro Door frame. Shot at 1/60 f/2.8. I really liked the texture of the door and how the paint was chipping. I composed it using the rule of thirds.

Blog 8-Reverse Shallow Depth of Field

I didn't do a reverse depth of field so here are 2 different shallow depth of field shots.

The Rail. It's an HDR photo. The normal exposure was 1/40 at f/2.8. No tripod. I edited the HDR in camera raw and brought up the clarity, vibrance, and put a small vignette on it.

Stand in the Light. 1/125 at f/2.8. I loved the lighting that Jake was standing in so I quickly composed a photo while he was standing still. I edited in camera raw using the greyscale to balance the whites and blacks.

Blog 8-Action Blur and Freeze

Hotel Meade. 1/125 at f/8. I froze the snow falling from the sky. All day I was trying to think of something that wouldn't be cheesy to freeze but actually make a photography while freezing something and this is what I came up with.

Jacob in Spirit. 4" at f/2.8. I was in the church and asked jake to stand there for 3" and then for the last second to run out of frame. I tried a few different compositions but I liked this the best.

Blog 8-Portraits

Jacob. 1/60 at f/2.8. Inside with side window lighting. The room had a really warm feel from the old, brown wallpaper so I wanted to take his picture because the lighting looked beautiful for skin tones. I also wanted to go for an environmental portrait so I kept his camera in the photo.

Church Portrait. 1/3" at f/2.8 on tripod. I was in the church trying out an HDR portrait but didn't like how it turned out. But I still liked the single photo. I like the composition of the rule of thirds and the shallow depth of field. Once again, I felt there was some subtle, soft, side lighting that when well with the photo.

Monday, February 21, 2011

blog 7 edits

i went to the lab and it was closed. Aweeesome. Well, that means no edited photo but here are some random pictures of light for the past couple of years.


Monday, February 14, 2011

Blog 6-Scanography

One Scan
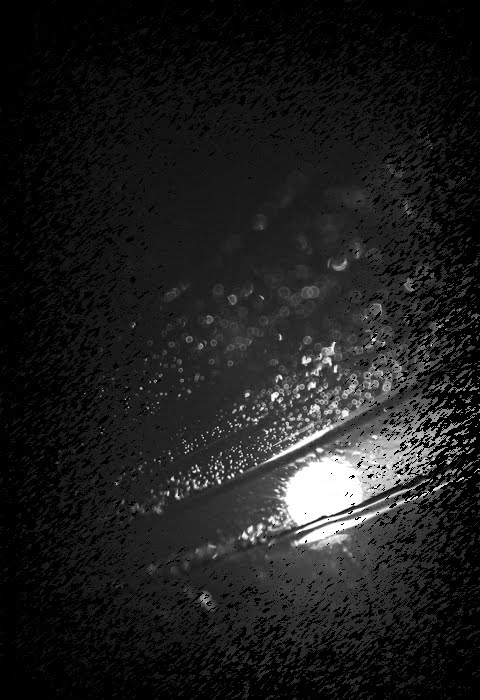
Help Wanted. I put cling wrap over the whole face of the scanner and bunched it up in random chaos. I wanted to imitate the feel of water. Then I splashed water drops on the cling wrap so there'd be subtle water drops everywhere. I wrote the note with sharpie, hoping it would maybe smear or give the appearance of being wet once i put it on the wet surface. I dunked my head in water and took the scan. It was pretty fun if I do say so myself.

Collage Scan
See No Evil, Hear No Evil, Speak No Evil. I took 3 separate scans, though it took about 6 tries per scan to get the right feel I wanted. I wanted to play with the shadows that the scanner produces. So once I had all 3 scans I wanted, I went into photoshop and followed the instructions in the book under #27 for Layer Mask. I put all 3 images on top of each other, made a mask for them all, then used the black/white brush to hide/reveal what I wanted till it felt right.


Before/Individual Photos


Blog 6-Edit Borders

Self Portrait. I took this picture in the BYU-I Center bathroom. I loved the symmetry in the mirrors. I edited a burned border into the picture by following the instructions exactly as Sis. Esplin laid out in the book for us under #13. I chose not to add a stroke to my border because I felt like it took away from the photograph.

The Road. I used a flexible vignette to achieve this border. I followed the instructions just as it was laid out in the book and tried a few different colors but I didn't like any of them so I chose to keep it simple and not do anything flashy and just have it be a black vignette.

Water Drops. I chose to do a sprayed edge effect for this photo because I wanted the feel of the photo to match the creative border I was putting on it. I followed the instructions of the book and chose for my sprayed strokes length to be 1 (out of about 20) and the radius to be 25 (out of 25). That way it almost looks like rain drops.


Before


Monday, February 7, 2011

Blog 5-Challenge

Luminous Taylor. 1/160 f/8.0 4:45pm Portrait Studio on campus. 3 External Flashes.
I decided in the studio I wanted to try and experiment with the lighting. I faced the side lighting directly behind taylor and turned up the power of the flash from the normal 1/16th power to about 1/4th. I wanted to imitate a lens flare in the studio. Later I realized, I should've taken off the soft box to get a harsh light if that's the look I was going for, but none the less I liked how the photo turned out. Though I don't really care for the luminosity effect with the photo.